Microsoft Office 365 Outlook Configuration (First-time setup)
This document describes how to setup Microsoft Office 365 Outlook for Windows for most Rice Faculty, Staff, and Visitors with email access.
First-time Setup
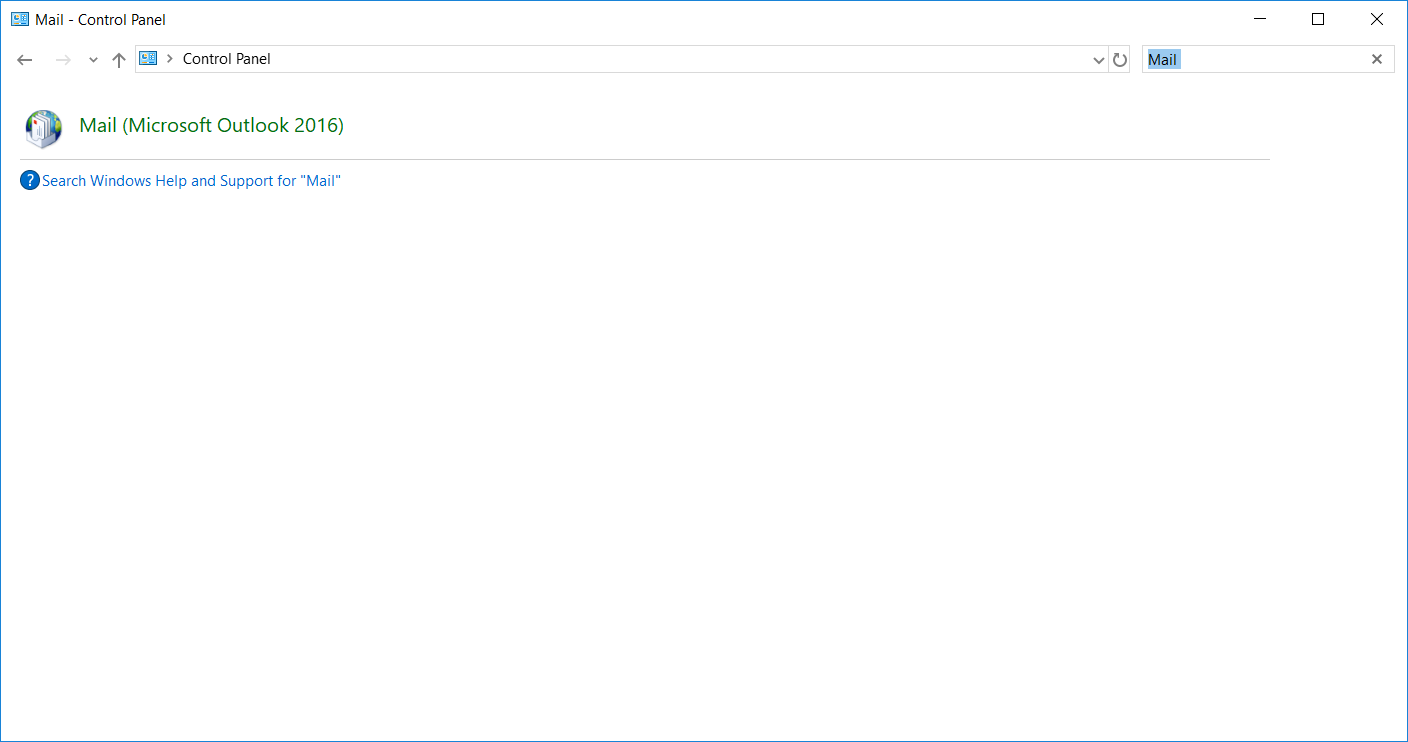
Step 1: Hit the Start button and begin typing Control Panel. Then open the Control Panel app that appears as a result.

Step 2: In the Control Panel window that opens up, click in the search field near the upper right-hand corner and type in Mail. Open the Mail control panel result, the name might be slightly different than what's in the screenshot.
Step 3: If Outlook has not been opened before there will be no profile as is shown in the image below. Click Add to create a profile.

Step 4: Name the profile you will create, it's name will only display here in this control panel.

Step 5: Select on Manual setup or additional server types and then click Next
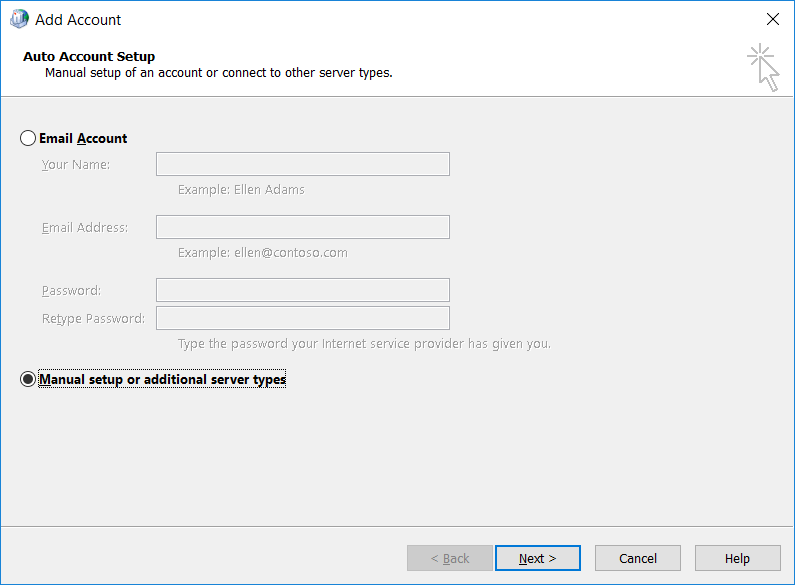
Step 6: Select POP or IMAP and then click Next

Step 7: Enter the following information
- Your Name field, enter your name
- Email Address field, enter your Rice email address
- Account Type drop-down menu, select: IMAP
- Incoming mail server field, enter: imap.mail.rice.edu
- Outgoing mail server (SMTP) field, enter: smtp.mail.rice.edu
- User Name field, enter your NetID
- Password field, enter your NetID password
- Make sure Remember Password is checked
- Make sure Require login using Secure Password Authentication (SPA) is unchecked
Now click More Settings

Step 8: Click on the Outgoing Server tab

Step 9: Check My outgoing server (SMTP) requires authentication and select Use same settings as my incoming mail server

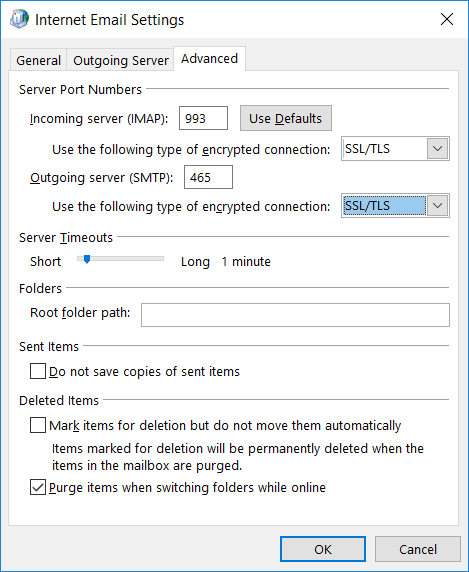
Step 10: Click the Advanced tab
- For both server settings, Use the following type of encrypted connection, drop-down menu, select SSL.
- Incoming server (IMAP) field, enter 993
- Outgoing server (SMTP) field, enter 465
- Click OK
Step 11: Click Next to complete the account setup

Outlook will then test the account settings and if successful will add the email account. You can close any open windows and then launch Outlook to see your email.