Topics Map > •Applications & Software > -Windows
Connect Self-Service Windows computer to Rice wired network
This document describes how to manually configure a Windows workstation to connect to the Rice wired network with PEAP MSCHAPv2. Valid Rice NETID credentials are required. This article is intended for use by Rice staff, students, and faculty.
Step 1: Type Services in the Search Bar to the right of the Windows icon in the lower-left corner of your screen.
Step 2: Scroll to the bottom. Double-click Wired AutoConfig
Step 3: In the Wired AutoConfig Properties window, select Startup Type: Automatic from the drop-down menu. Go to Service Status, and click Start. Click Apply. then OK.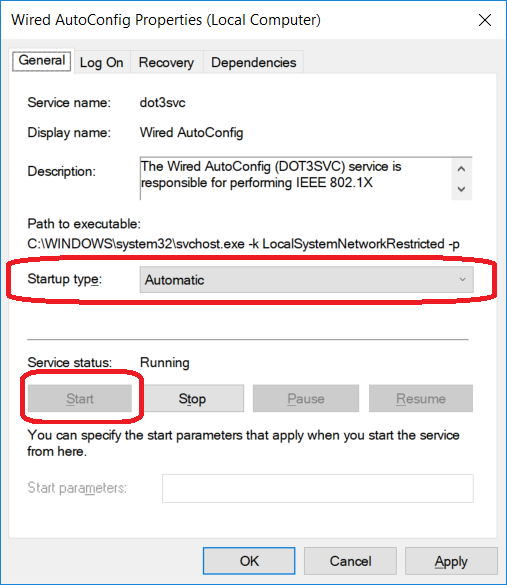
Step 4: Go to Control Panel-->Network and Sharing Center--> Click Connections: Ethernet.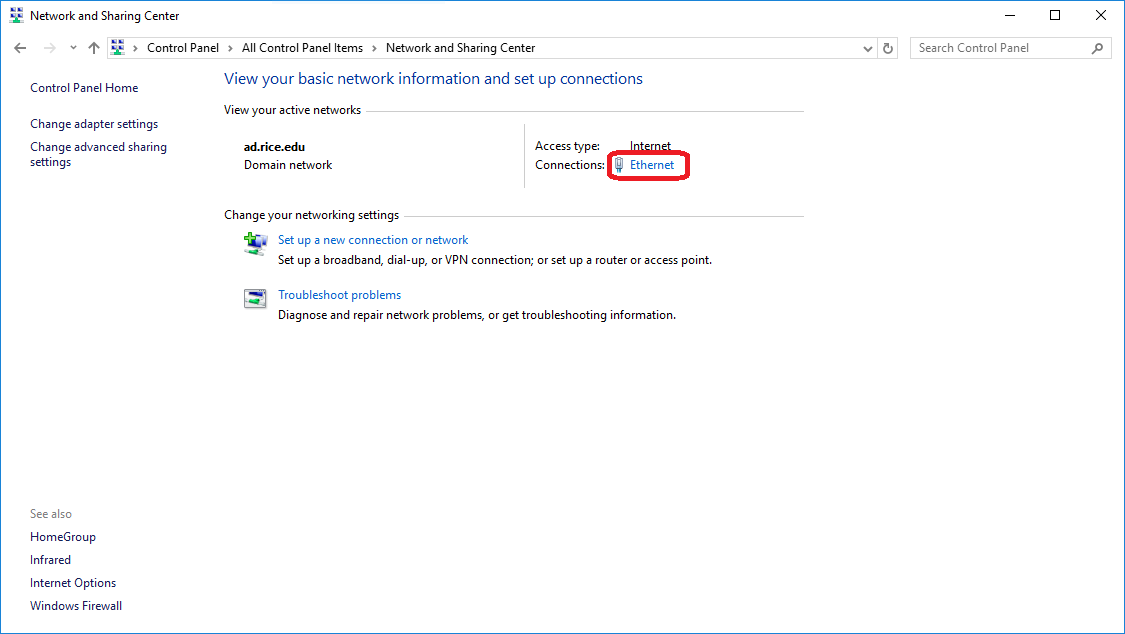
Open Properties.

Step 5: Local Area Connection Properties
In the Authentication tab, configure the following:
- Select ‘Enable IEEE 8021x authentication'.
- Select ‘Remember my credentials for this connection each time I’m logged on’.
- Select ‘Fallback to unauthorized network access’.
Choose a network authentication method:
- Select Microsoft Protected EAP (PEAP) from the drop-down menu. Click Settings.

Step 6: Protected EAP Properties
Select Verify the server certificate
In the Trusted Root Certification Authorities section, select ‘UserTrust RSA Certification Authority’.
Select Authentication Method > Secured Password (EAP-MSCHAPv2)
Select Enable Fast Reconnect
Click Configure...
Make sure the box in this window is unchecked as shown in the image below.
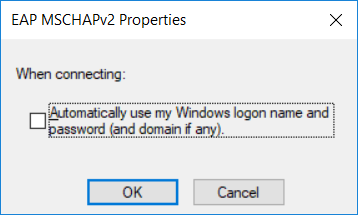
click OK and click OK again.
Step 7: Back in the window with the title Ethernet Properties click on Additional settings > select Specify authentication mode. From the drop-down menu, select User authentication.

Click Save Credentials. Type your NetID and NetID password. Click OK until you exit the settings menus.

Step 7: Back in the window with the title Ethernet Properties click on Additional settings > select Specify authentication mode. From the drop-down menu, select User authentication.
Click Save Credentials. Type your NetID and NetID password. Click OK until you exit the settings menus.
Then click OK and click OK on any windows that are still open. After about a minute, you should now be connected to the Rice network. If you still aren't connected, try restarting the computer.